Below is an interactive step by step guide explaining how to enable two factor authentication (2FA) on an account in Cimar. Using 2FA on an account will prompt a user to enter a PIN that is sent via SMS or email as well as entering their regular login details.
For a fullscreen version of this guide please click here.
How to enable 2FA
- Click on your name in the top right

- Select ‘Require security PIN for login’

- By default the PIN will be sent to the email registered to the account however, should you wish to receive the pin via SMS enter a valid mobile number in the respective field.
Using 2FA
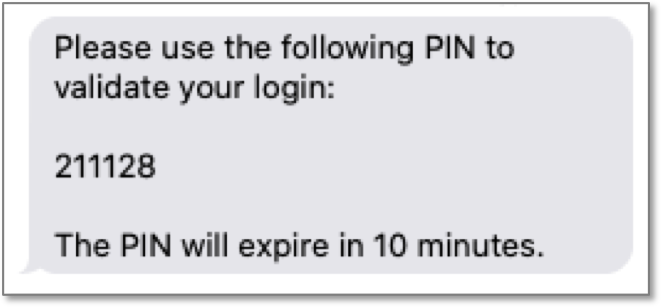
When you have two factor authentication enabled you will be required to verify a PIN following entering your login details. Depending whether you have a mobile number associated with your account or not you will receive a PIN via email or SMS. Enter this PIN in the field provided to login to your Cimar account.
Example of PIN from email
 Example of PIN from SMS
Download a PDF version of this guide here: How to enable 2FA

